Creating an Application #
When you are ready to deploy your Element, first you must make sure that you have an Application created. If you have not done so, create a new Application either in the CMS or manually via the Application API.
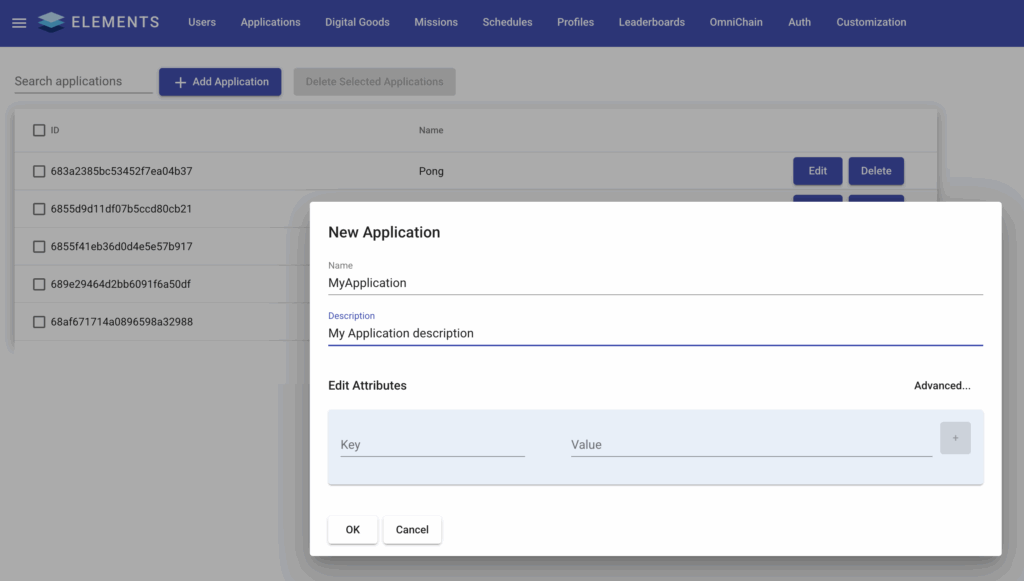
Once the Application is created, you will have a new git repository for the Application to upload your code to. If you created the Application via the Application API, the property will be scriptRepoUrl. If you created it via the CMS, then go to Edit for the newly created Application to view the URL there.

Once you have the repository URL, you can use the git CLI to git clone or use an application such as SourceTree to pull the empty repository. This is now your deployment directory.
Note
If you get a 403 when trying to pull, then you’ll need to specify the credentials of a User with SUPERUSER privileges. This can either be done via a credential helper or by adding the credentials to the URL directly, for example: git clone http://username:password@localhost:8080/code/MyApplication
Configuring the Deployment Directory #
Within the deployment directory, two things are needed:
- a properties file, named
dev.getelements.element.attributes.properties - and a
libfolder - (see element-example-deployment folder for an example of these in the example project repo)
The properties file contains a list of properties that can overwrite Elements default properties. This can be useful for adjusting settings based on the environment that you’re deploying to.
The element-libs folder will contain your packaged Element code, as well as the jars of any dependencies that were built alongside it.
Packaging Your Element Code #
Then, you need to package up your project into a jar. You can do this easily with Maven using the CLI command: mvn clean package
This will output two important things into the target folder in your project: the jar file for your code, and a dependencies folder called elements-libs, with other required jar files.
Note
The jar file for your code will be named based on what is specified in the pom.xml file at the root of your project. For example: <groupId>org.example</groupId>
<artifactId>ElementSample</artifactId>
<version>1.0-SNAPSHOT</version>
will generate ElementSample-1.0-SNAPSHOT.jar

Next, copy your jar file, as well as all of the jars inside of element-libs (not the directory itself, but all of the contents) into your Deployment Directory lib folder. After copying these, your Deployment Directory should look like this:

Note
Unless you’ve updated Namazu Elements or your dependencies, you can just replace the one jar for your Element code for subsequent deployments.
Deployment #
Once the jars and properties are in place, make sure that you’ve added and committed your changes in git. Once committed, you’re good to push!
Warning
If you’re using branches in your Deployment Directory, it will be necessary to specify that you want to push to main, as branching Element code is not supported internally, and changes pushed to anything other than the main branch will not be run.
This can be done like so:git push origin my-branch:main
After pushing, you may need to restart the container to apply the changes. Via the CLI, you can use docker ps to get the list of containers and then docker restart <container-name>. In this case we would want to restart the ws (web services) container like so:

You can also use Docker Desktop to restart the container:

Once the container has restarted, you should be able to confirm that your custom code was recognized in the logs, along with the relative root path for its API calls. For example:21:43:22.220 [main] INFO o.e.j.server.handler.ContextHandler - Started oeje10s.ServletContextHandler@7fecc26f{/app/rest/example-element,/app/rest/example-element,b=null,a=AVAILABLE,h=oeje10s.ServletHandler@402adc9c{STARTED}}