Postman is a great tool for testing APIs and REST calls. Since the Elements Core (and, if you’ve set it up, your Custom Elements as well) can generate an OAS3 formatted spec of the code. This allows you to cleanly import it directly into Postman.
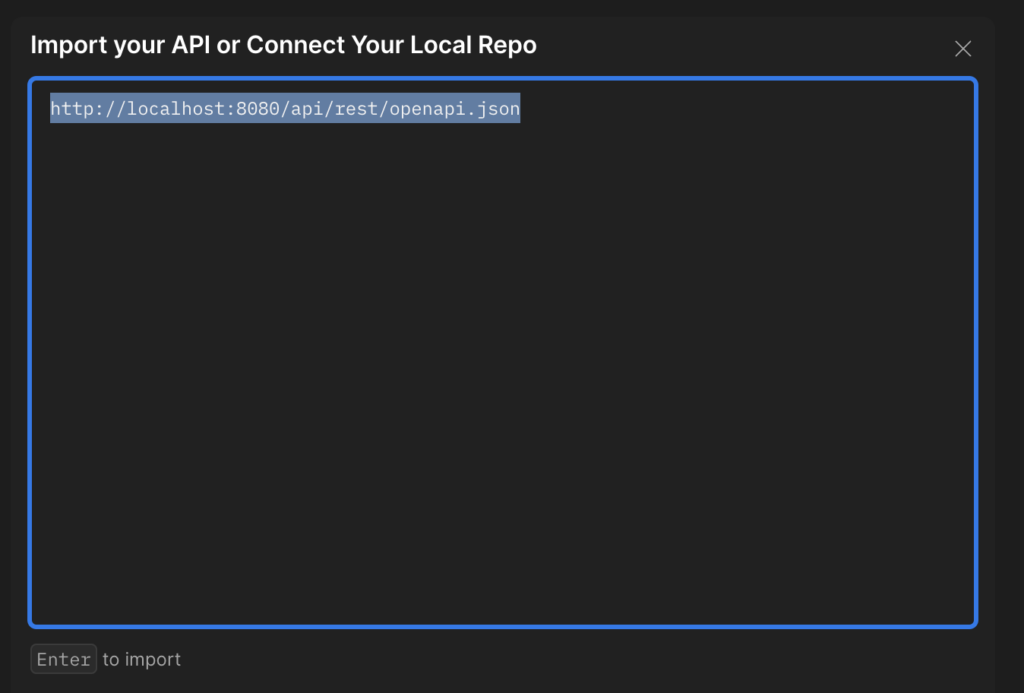
First click on the Import button near the top left corner of the window.

Next, put in the URL of the spec that you want to generate. If you’re running locally and want to generate the Elements Core API, you can use http://localhost:8080/api/rest/openapi.json.
For a custom Element, you can use something like
{urlRoot}/app/rest/{applicationName}/openapi.json
For example, if you’ve installed the Example Element locally, you can use http://localhost:8080/app/rest/example-element/openapi.json
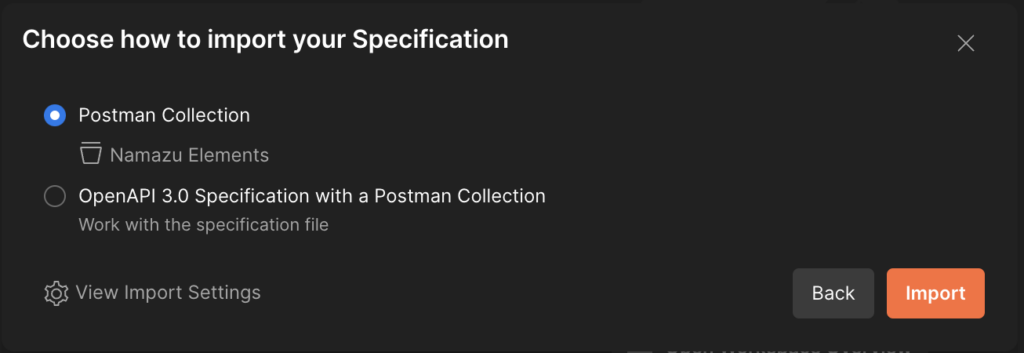
Import as a Postman collection
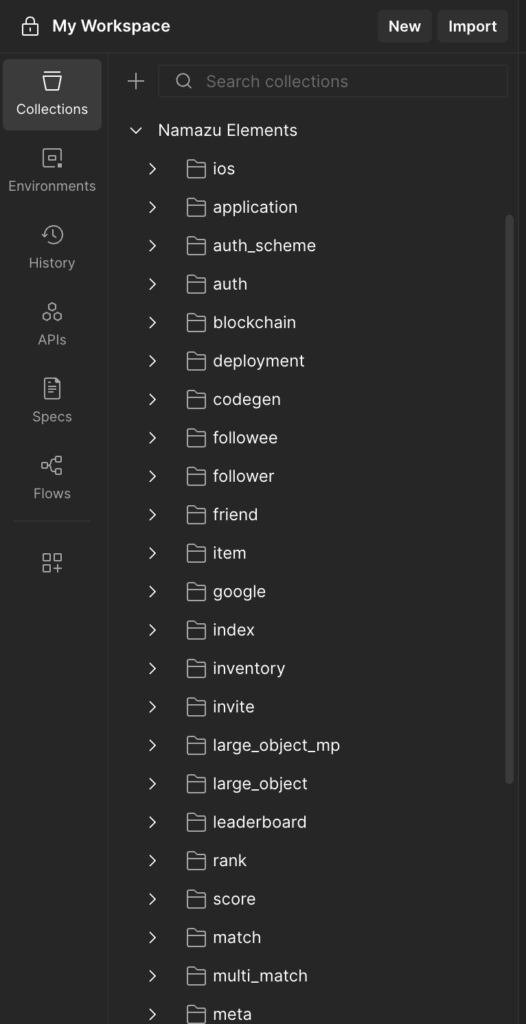
You should now see the imported collection under your collections tab
Variables in Postman #
A useful thing that Postman offers is the ability to assign variables to multiple requests. The baseUrl should be automatically added for you.

Elements also requires that many requests be authenticated. The quickest way to do this is to go to the session folder in your collection and select POST Creates a Session

Navigate to the Body tab and replace the contents with your admin credentials. For example, if you haven’t changed them from the default yet, you can use:
{
"userId": "root",
"password": "example",
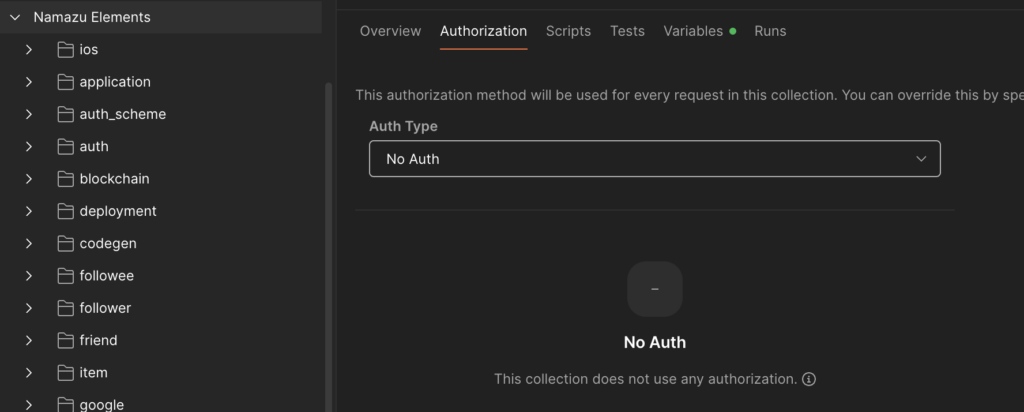
}If you get an error, there’s a good chance the Postman tried assigning some form of default auth to the request headers. To make sure that you don’t have this, try selecting the collection itself (parent folder under Collections), go to the Authorization tab, and select No Auth. This will disable it as a default header for all requests. This is important because not all requests use auth (like signing up/in) and can cause errors internally.
If the request is successful, you should see something like this in the response body:
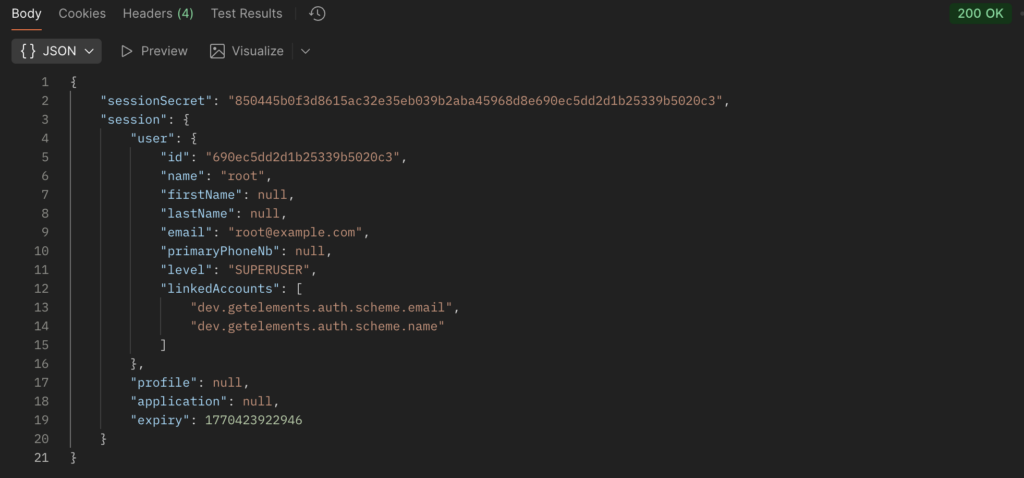
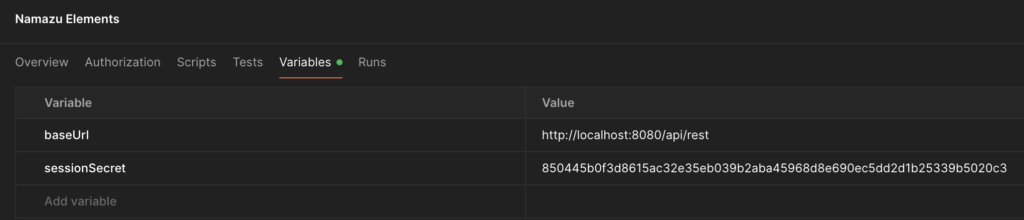
Now, you can copy the sessionSecret into the header for authenticated requests. To make life a little easier, you can also define this as a variable. Select the Namazu Elements collection again and this time go to the Variables tab.
Let’s give it a try! Go to user -> GET Search Users. Try modifying the query params as you see below:
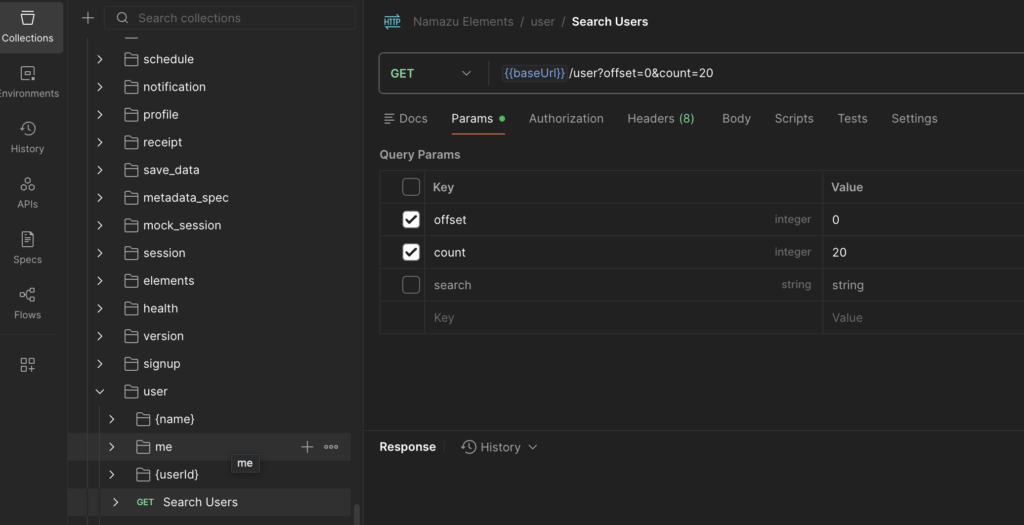
Next, go to Headers and add the Elements-SessionSecret to the Key field, and the sessionSecret value to the value field. If you defined a variable, you can use this for the value, for example {{variableName}}.

Since this a common header for authenticated requests in Elements, you can add it as a preset so that you can quickly assign it in the future.

Click Send in the top right and you should see a list of Users in the response body!